
Unity でゲーム開発をしている際、実機端末で確認したい時はアプリをビルドする必要があります。ただビルドの処理には時間がかかるため、端末での見え方やレイアウトを確認したい時には少々手間がかかります。
Device Simulator を使えば、様々な端末でアプリがどのように表示されるかを Unity エディター上で確認できます。
Unity 2020.3.1f1
Device Simulator 2.2.4-preview
目次
Device Simulator とは?
Device Simulator は、アプリが端末上でどう表示されるかを Unity エディター上で確認できる無料の Unity パッケージです。
Unity には既存で Game ウィンドウがあり、ここでゲーム実行時の見え方を確認できます。Device Simulator はそれに代わるウィンドウで、端末上での表示をより正確に把握することが可能です。
Device Simulator の導入
Package Manager に無い?
[Window] -> [Package Manager] から「Device Simulator」を検索してみましたが、検索結果には表示されませんでした。

調べてみると、Unity 2020.1 よりプレビュー版パッケージは Package Managerに表示しなくなったとのことです。Device Simulator はプレビュー版のため、このことが原因でした。
参考 Unity 2020.1 でのパッケージマネージャーのアップデートサUnity Blog
ただし別の方法でインストール可能なので、その方法を紹介します。
Device Simulator のインストール
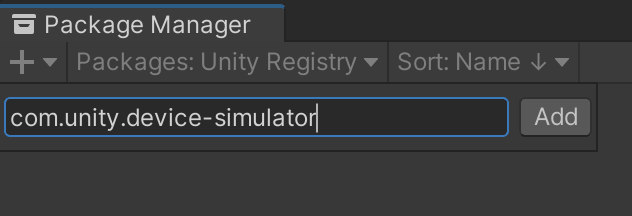
Package Manager の左上にある「+」ボタンをから「Add package from git URL…」を選択します。

テキスト欄に「com.unity.device-simulator」と入力して「Add」ボタンを押すと、Device Simulator のインストールが始まります。
インストールが完了すると、Package Manager 上にインストール済みを表す「✔」の付いた Device Simulator パッケージが表示されます。
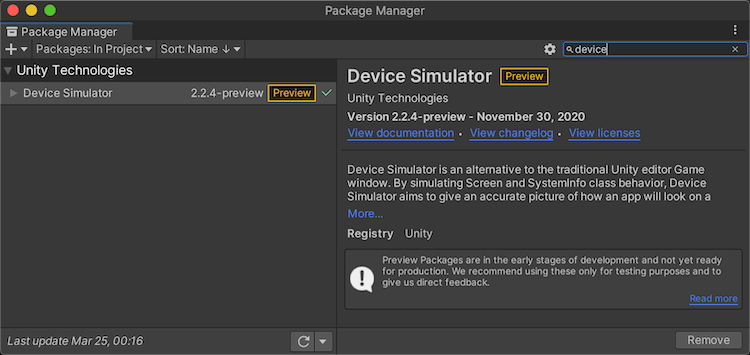
これで Device Simulator のインストールは完了です。
Device Simulator の使い方
Device Simulator ウィンドウの表示方法
Device Simulator ウィンドウの表示には 2 つの方法があります。
1 つは Game ウィンドウにて「Game」を選択して「Simulator」に切り替える方法です。
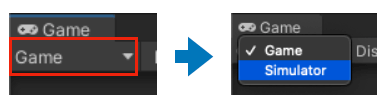
切り替えると Game ウィンドウが Device Simulator の画面となります。
2 つめは [Window] -> [General] -> [Device Simulator] から表示する方法です。
こちらの方法は Game ウィンドウとは別の Device Simulator 専用ウィンドウが立ち上がります。
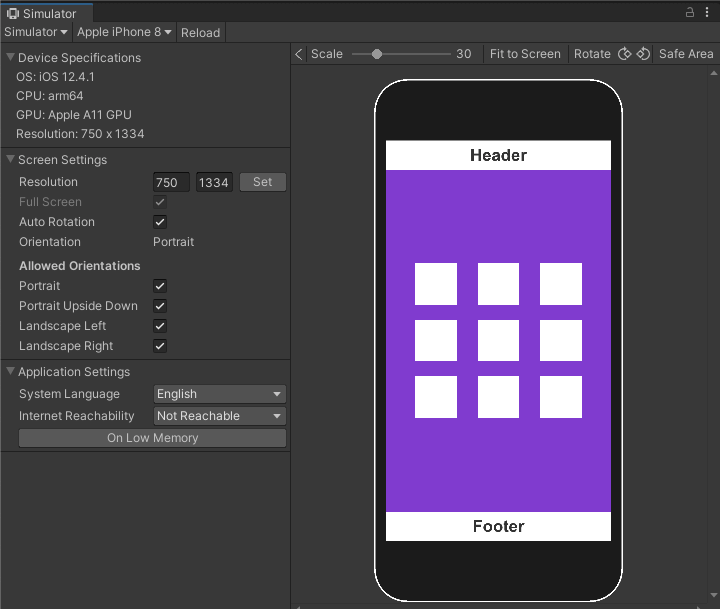
Device Simulator の機能紹介
左上から確認したい機種を選べます。
iPhone や iPad、Android 系の様々な機種が選択できるので、各端末での解像度を確認できます。
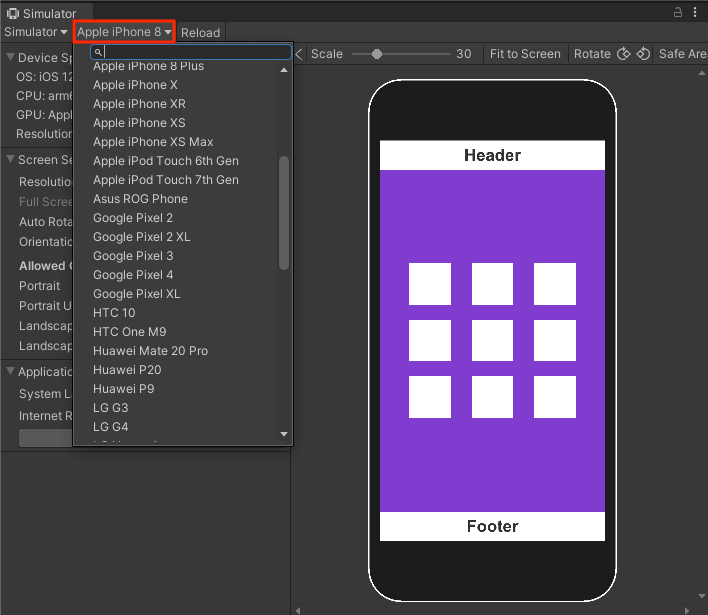
例えば iPhone の特定の機種には画面上部にノッチと呼ばれるくぼみがあります。
以下の画像では端末選択を「iPhone X」にした際の表示です。 Device Simulator を使うことでノッチ部分がヘッダーと被っていることが判明しました。

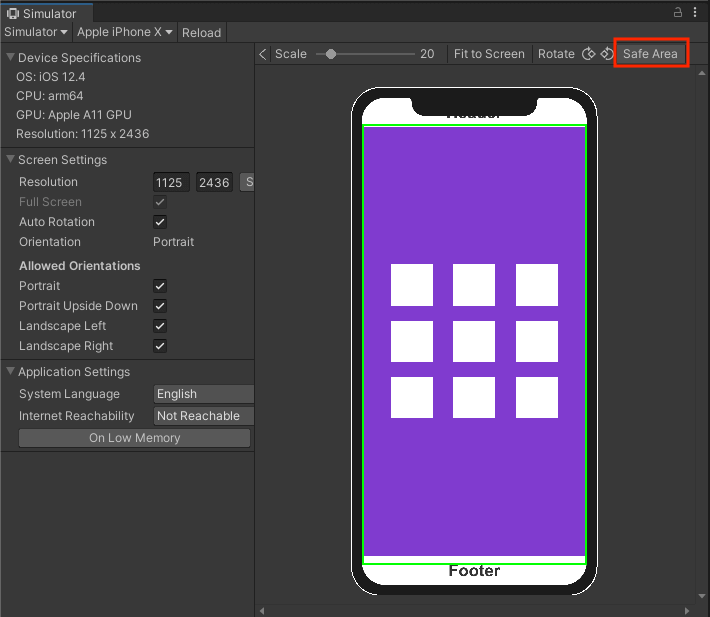
「Safe Area」ボタンは端末の Safe Area が確認できます。Safe Area は緑色の枠線で表示されます。
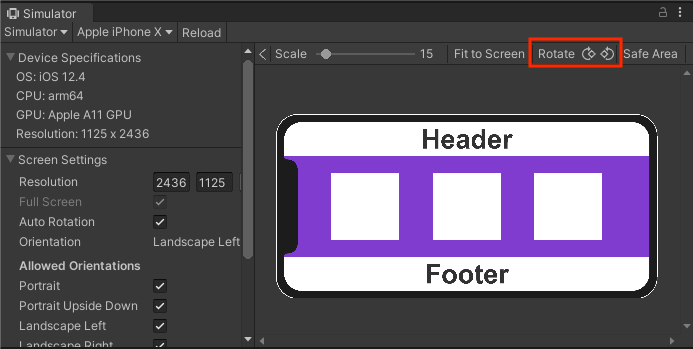
「Rotate」ボタンは端末を回転した際の表示確認ができます。
「Fit to Screen」は端末がウィンドウ内に収まるように自動的にスケーリングしてくれます。
端末ごとに解像度が違いサイズも違うため、いくつか端末を切り替えて確認したい時は Fit to Screen の活用をオススメします。

おわりに
Device Simulator の導入から使い方まで紹介してきました。
今回紹介したバージョン2.2.4時点ではまだプレビュー版パッケージなので、今後のアップデートに期待です。
参考資料
- Device Simulator | Unity 公式
- 【Unity】Device Simulatorが見つからない!?