
目次
はじめに
PS4 のゲームプレイ中にトロフィーを獲得すると、画面上部に通知の演出が走ります。今回はその演出を DOTween を使って作ってみます。
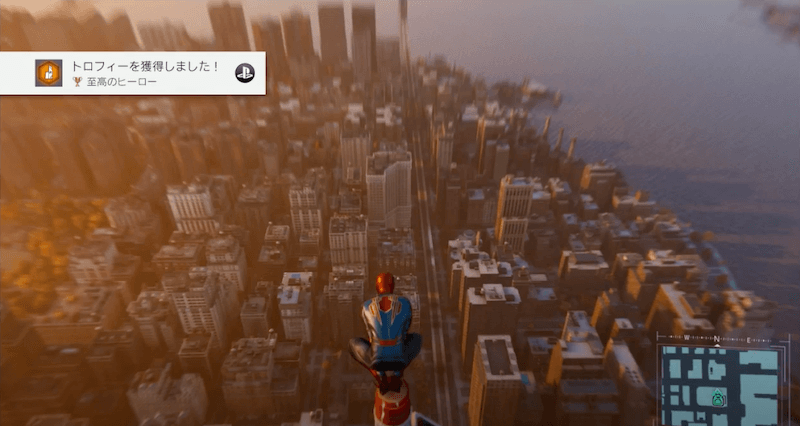
演出の完成はこのような感じになります。

バージョン情報
Unity 2020.2.0f1
DOTween (HOTween v2) Version 1.2.420
DOTween とは?
DOTween は移動系のアニメーション(イージング)を簡単に実装できるアセットです。
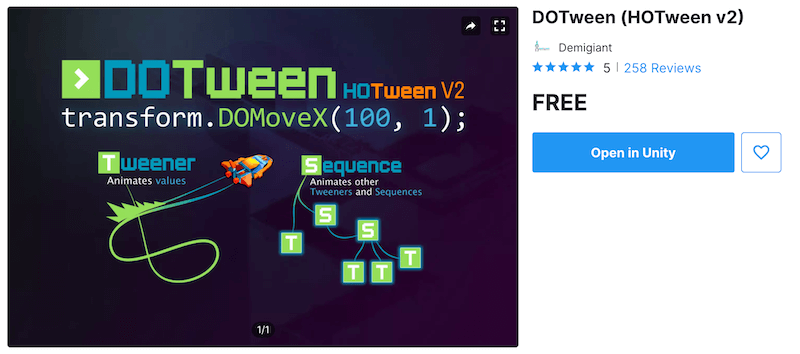
Asset Store から無料版をダウンロード可能です。
DOTween Pro という有料版もありますが、機能的には無料版でも十分です。
実際に演出を作ってみる
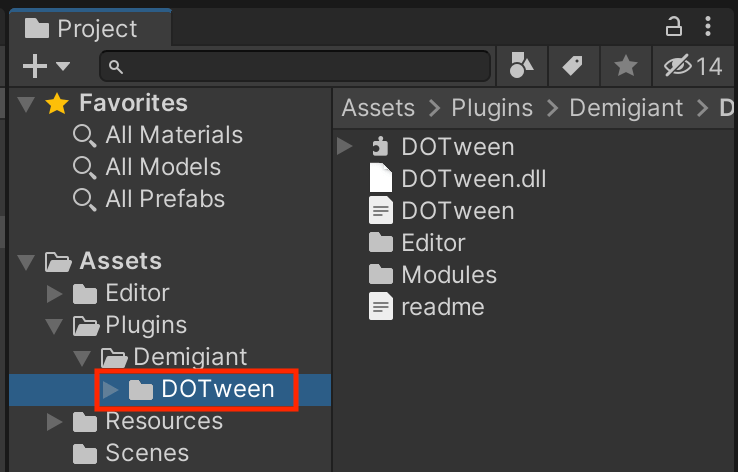
事前準備
ここからは DOTween を使って演出を作っていきます。
事前準備として、Unity に DOTween アセットをインポートします。
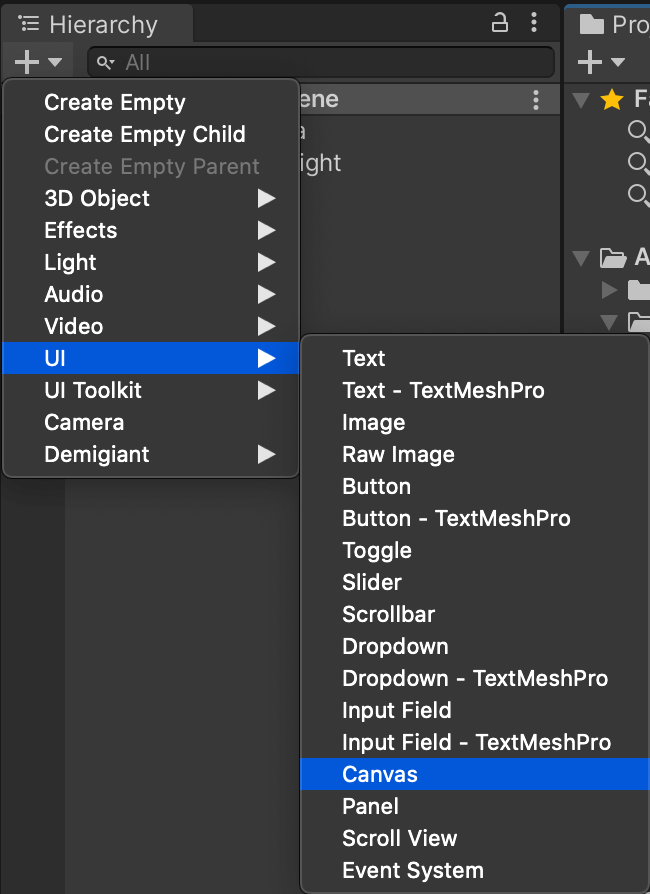
UI の作成
UIを表示するための Canvas を用意します。
Hierarchy ビューで [ + ] > [ UI ] > [ Canvas ] から Canvas を作成します。
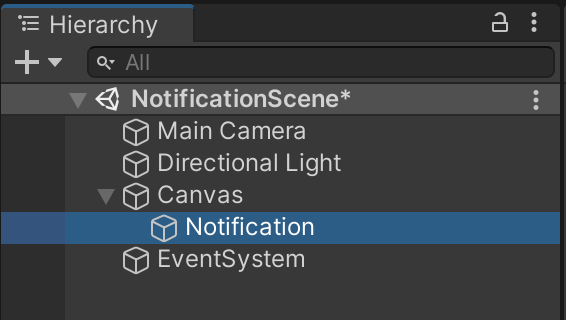
作成した Canvas の子オブジェクトに、通知 UI 用のルートオブジェクトを用意します。Canvas を右クリックして Create Empty から GameObject を作成します。
作成した GameObject の名前を「Notification」に変更しておきます。
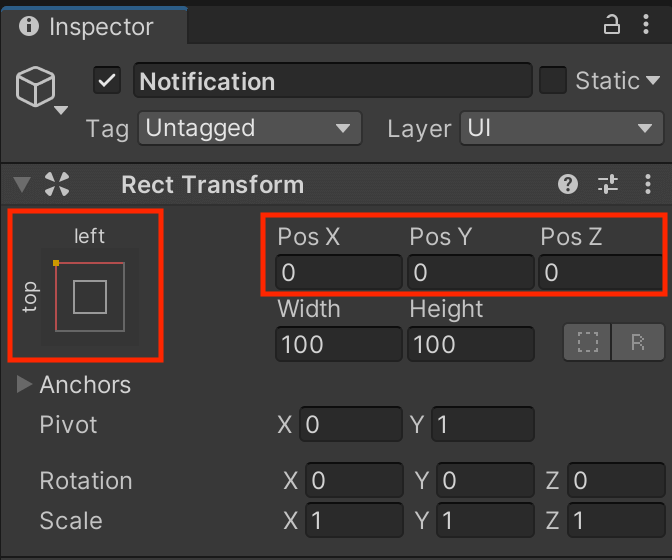
Notification オブジェクトの Rect Transform を変更します。
通知 UI は画面左上から表示するため、アンカーを左上に設定し、Position も 0 にします。
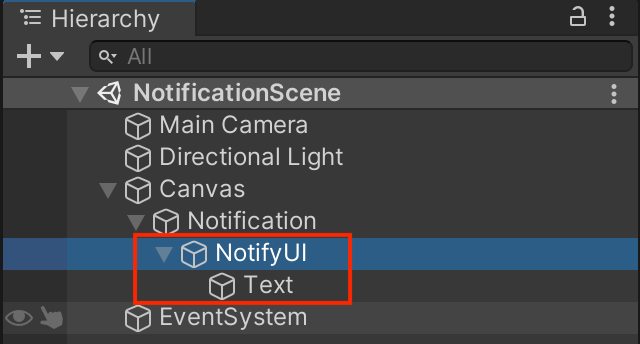
Notification オブジェクトの子に Image オブジェクト、その子に Text オブジェクトを作成します。また Image オブジェクトの名前を「NotifyUI」に変更します。
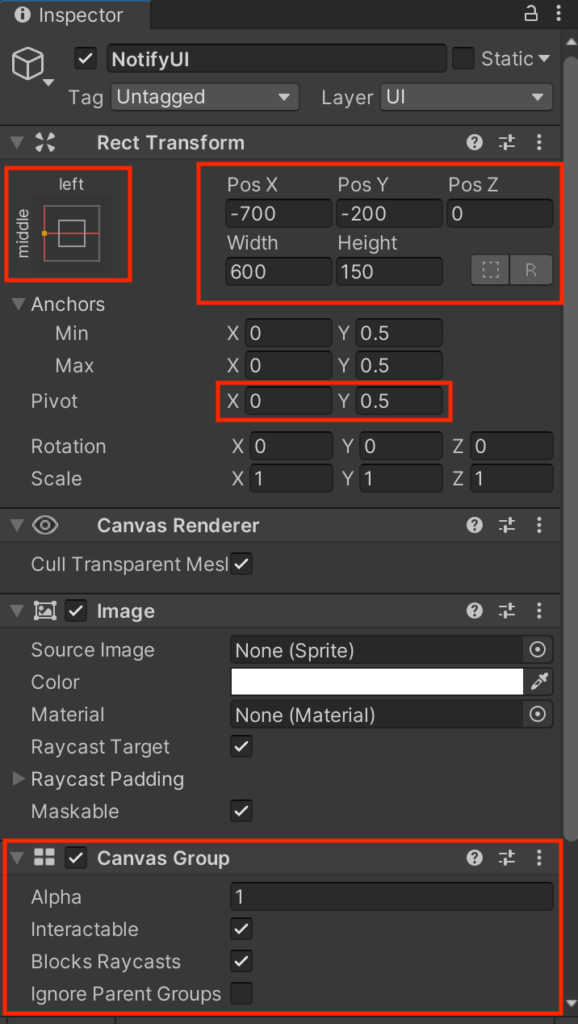
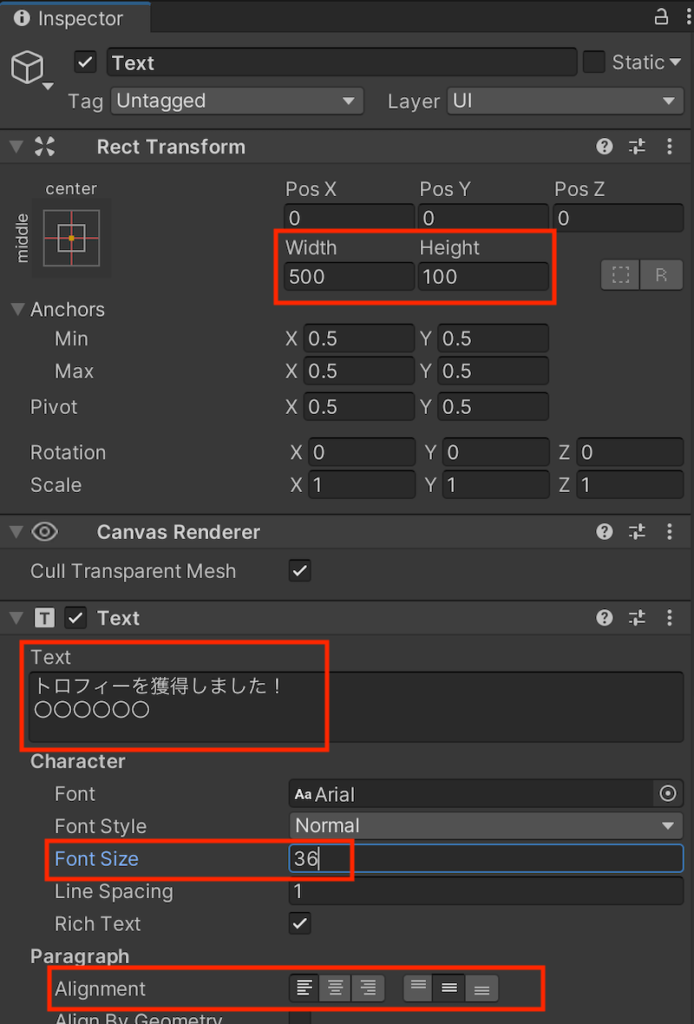
通知UI 作成のため、各 Inspector 情報を変更します。
「Position」X: -700, Y: -200, Z: 0
「Width」600
「Height」150
「Pivot」X: 0, Y: 0.5
「Component」Canvas Group を追加
「Height」100
「Text」トロフィーを獲得しました!\n◯◯◯◯◯◯
「Font Size」36
「Alignment」left, center
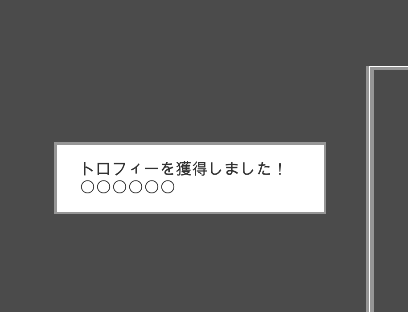
変更が完了すると、以下のような見た目の UI になっているかと思います。
これで UI の準備は完了です。
コードの実装
通知演出用クラスであるNotificationController.cs を作成します。
using UnityEngine;
using DG.Tweening;

public class NotificationController : MonoBehaviour
{
    private static readonly Vector3 INIT_POS = new Vector3(-700f, -200f, 0f);
    private static readonly float MOVE_TIME = 0.5f;
    private static readonly float INTERVAL_TIME = 2.5f;
    private static readonly float FADE_TIME = 0.7f;

    [SerializeField]
    private CanvasGroup m_CanvasGroup;

    private Sequence m_Sequence;

    void Update()
    {
        // キーボードの「スペース」キーを押したら演出再生
        if (Input.GetKeyDown(KeyCode.Space))
        {
            PlayNotification();
        }
    }

    private void PlayNotification()
    {
        m_Sequence?.Kill();

        m_Sequence = DOTween.Sequence()
            .OnStart(() =>
            {
                m_CanvasGroup.transform.localPosition = INIT_POS;
                m_CanvasGroup.alpha = 1f;
            })
            .Append(m_CanvasGroup.transform.DOLocalMoveX(0, MOVE_TIME).SetEase(Ease.OutQuart)) // 左からスライドイン
            .AppendInterval(INTERVAL_TIME) // 待機時間
            .Append(m_CanvasGroup.DOFade(0f, FADE_TIME)); // フェードアウト

        m_Sequence.Play();
    }
}作成したNotificationController.cs を「Notification」オブジェクトにアタッチし、「Canvas Group」に「NotifyUI」オブジェクトの Canvas Group をセットします。
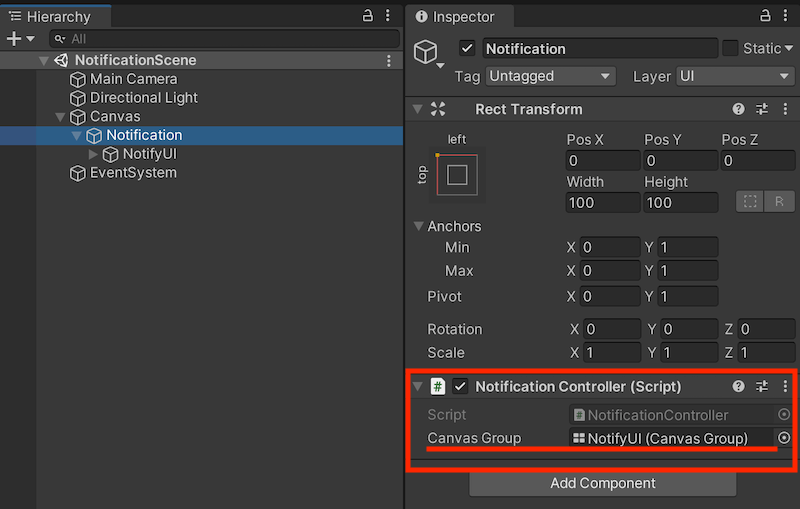
これで実装は完了です。
演出の作成完了
Unity を実行して「スペース」キーを押すと演出が再生されるかと思います。

Game ビューの Aspect は「1920 × 1080」に設定しています。

関連記事